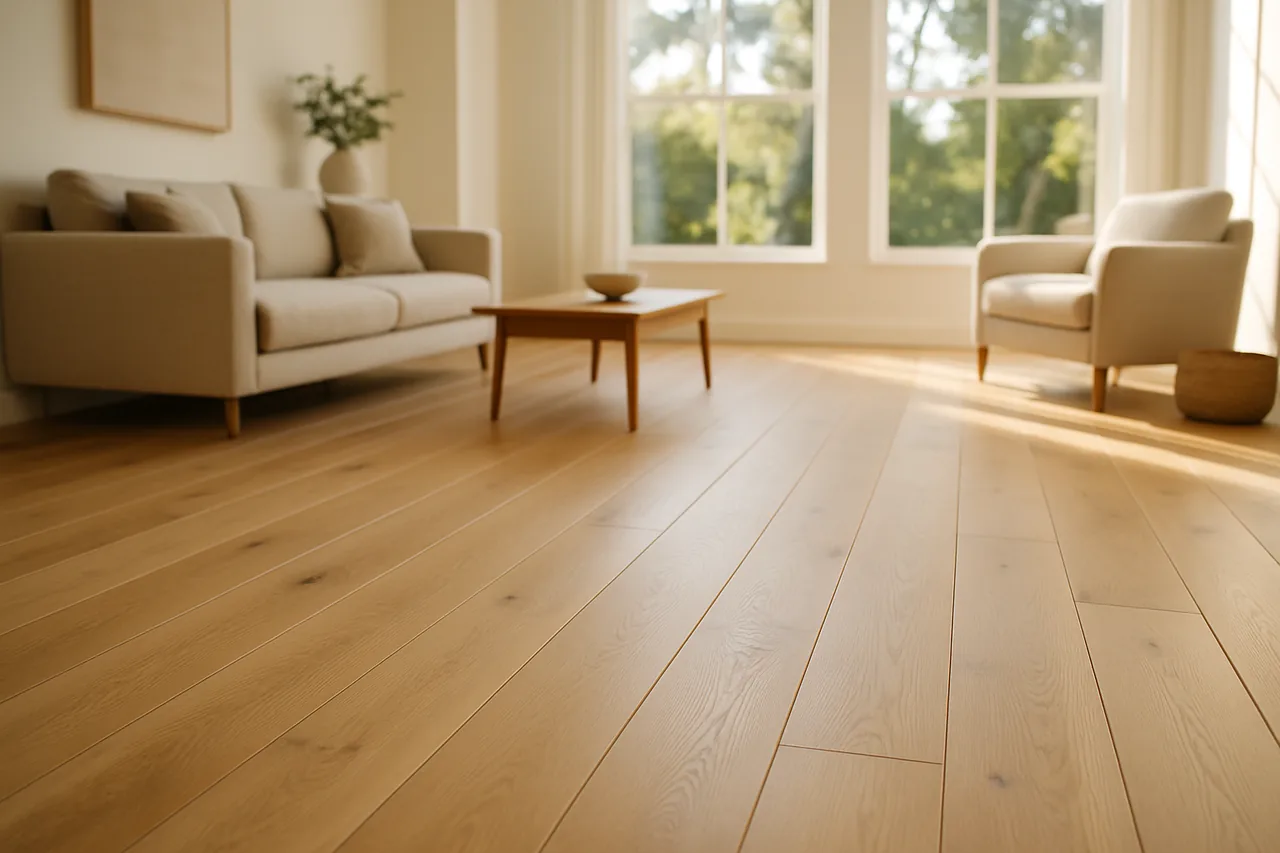
The flooring cost calculator turns two room measurements and one number you already have — your own quoted price per square foot — into three answers a floor project actually needs: the true floor area, the quantity to order once cutting waste is added, and the estimated total at your rate. It does one thing honestly and refuses to do the dishonest thing: it never invents a price. You enter the price from a real quote, sample, or product listing, and the tool does the geometry and the arithmetic. Multiply length by width for area, add a waste factor for the offcuts every install produces, and multiply by your rate — that is the whole method, and doing it before you order is how you stop paying for a second delivery or a box you did not need.
The Flooring Cost Calculator
Enter your room's length and width, a waste allowance, and — from your own quote or product listing — your price per square foot. The tool returns the floor area, the order quantity with waste folded in, and, when you add a rate, the estimated total. It supplies no price of its own; every dollar figure comes from the number you type.
Enter values and calculate.
Estimate uses the price you enter — we never invent prices. Get a free written quote for your exact total.
How to Use the Flooring Cost Calculator
The calculator is deliberately small because a trustworthy estimate is small: your room, your waste allowance, and your quoted rate. Follow the six steps below in order and the number that comes out is an honest planning figure you can carry into a written quote — not a guess dressed up as a price.
Measure the Room, Length × Width
Measure the longest wall for length and the perpendicular wall for width, in feet, at floor level rather than at counter height. For an L-shaped or open-plan space, split it into rectangles, measure each, and add the areas. Round each measurement up to the next inch, never down — a floor short by one board is short by a whole box.
Enter Length and Width in Feet
Type the two dimensions into the length and width fields. The tool multiplies them to the raw floor area in square feet, the base number every other figure builds on. If your walls are not truly square, measure both ends of the room and use the larger reading so the estimate never comes up short.
Set the Waste Percentage
Enter the waste allowance as a percent. 10% is the common default for a straight-lay floor in a simple rectangle; drop toward 7% for a large, plain room with few cuts, and raise toward 15% for diagonal layouts, hardwood herringbone or chevron, small rooms full of corners, or any pattern that forces you to discard the cut ends of boards.
Enter Your Own Price per Square Foot
Put in the price you were quoted or found — material plus installation if your quote bundles them, or material alone if you are pricing product only. This is the field that keeps the estimate honest: the calculator has no built-in price and never will. Leave it blank to get area and order quantity only; fill it to get an estimated total at your rate.
Read Area, Order Quantity, and Total
The result shows the raw area, the order quantity with waste folded in, and — if you entered a rate — the estimated total. The order-with-waste figure is the number you take to a supplier; the raw area is for comparison and sanity-checking a bid against your own math.
Verify With a Free Written Quote
Use the total to set a budget and read a contractor's bid critically, then get a free, itemized written quote to confirm the real number. Prep, removal, transitions, and stairs live outside a per-square-foot rate; the calculator sizes the field, and the on-site quote prices the whole job. The estimate is the map, not the invoice.
Run those six steps and you hold a defensible planning number before a single board is ordered — which is exactly when a flooring budget should be decided.
The Math Behind the Estimate — Honestly
There is no proprietary formula and no hidden database of prices. The calculator runs three plain operations you could do on paper, and the only figure it cannot know — your price — is the one it asks you to supply. Understanding each step is what lets you trust the output and catch a bad input.
Step One: Floor Area From Length and Width
Area is length multiplied by width, in square feet: a room 12 ft by 10 ft is 120 sq ft. That single multiplication is the foundation of every flooring order, and it is where the most consequential error hides — a room measured at the wrong height, or an L-shape treated as one rectangle, throws off everything downstream.
Handling Rooms That Are Not Simple Rectangles
Real rooms have bays, closets, hearths, and islands. The reliable method is decomposition: break the footprint into rectangles, compute each area, and sum them, subtracting the footprint of anything the floor does not run under, such as a fixed island base.
The L-Shape and Open-Plan Method
Divide an L-shaped or open-plan space along a natural line into two or three rectangles, measure the length and width of each, calculate each area, and add them for the total. An open kitchen-dining-living run is measured as its parts, not eyeballed as one block — eyeballing is where over- and under-ordering both begin.
Why You Round Every Measurement Up
Rounding each dimension up to the next inch builds a small margin into the area itself, before waste is even added. Rounding down to "about 12 feet" when the wall is 12 ft 4 in quietly removes coverage the room needs, and the shortfall surfaces on the last row of the floor — the most expensive place to discover it.
Step Two: Order Quantity With the Waste Factor
The waste factor is the extra material bought to cover the offcuts, trim cuts, and defective boards no install avoids. The calculator applies it as a multiplier: order quantity equals area times one plus the waste percentage. At 120 sq ft with a 10% allowance, you order 132 sq ft — the twelve extra square feet are the cut ends that land in the bin and the two or three planks you set aside as attic stock for a future repair.
Step Three: Estimated Total at Your Rate
The total is the order quantity multiplied by the price you entered. Because the rate comes from you, the total is only ever as accurate as your input — which is the point. A calculator that supplied its own "average price per square foot" would be inventing the one number that varies most by product line, region, and installer, and the invented figure would read as authoritative while being fiction. This tool would rather show you area and quantity and ask for your rate than hand you a fabricated price. To compare relative material costs before you have a quote, use the surface cost index, and to see what actually moves a bid, read the flooring cost guide.

What Actually Moves the Real Flooring Number
The calculator sizes the field and applies your rate, but a real project total is moved by line items a per-square-foot number never captures. The table below is the honest reason the on-site quote is the number that counts — each factor is a lever the estimate cannot see, ranked by how much it typically swings the total.
| Cost factor | How it moves your total | Captured by the calculator? |
|---|---|---|
| Material grade & line | The single biggest lever — an entry laminate and a premium oak differ several-fold per square foot | Yes — it is the rate you enter |
| Subfloor prep & leveling | Grinding high spots and pouring self-leveler to hit flatness is real labor and material a flat slab avoids | No — priced on site after inspection |
| Old-floor removal & disposal | Tear-out is labor and haul-away is a fee; it can also expose problems that change scope mid-job | No — a separate quote line |
| Install method | Glue-down over slab, nail-down over wood, or click-float each carry different labor and adhesive or fastener cost | Partly — folded into a blended rate at best |
| Layout & pattern | Diagonal, herringbone, and borders add cutting, waste, and skilled hours over a straight lay | Only via a higher waste %, not labor |
| Transitions, trim & stairs | Thresholds, reducers, and any run onto stairs are exacting work priced apart from field flooring | No — quoted separately |
| Moisture mitigation | A slab that reads too wet needs a mitigation system or moisture-control underlayment to the maker's spec | No — conditional on a moisture test |
| Region & access | Local labor rates, stairs to a third floor, and tight access all move installed cost | No — reflected only in a local quote |
Read the pattern: the calculator owns the two things you can measure — area and your rate — and the written quote owns everything that requires an installer to look at the space. That division is why the estimate and the quote are partners, not rivals.
Interpreting Your Result
The three numbers the tool returns each answer a different question, and mistaking one for another is how a good estimate gets misused. The table below maps each output to what it is for and what it is not.
| Result field | What it means | What to do with it |
|---|---|---|
| Raw area (sq ft) | The bare floor footprint, before any waste | Sanity-check a contractor's stated square footage against your own measurement |
| Order with waste (sq ft) | Area plus your waste factor — the true quantity to buy | Take this figure to the supplier; round up to whole boxes at purchase |
| Estimated total ($) | Order quantity times the rate you entered | Set a budget and read a bid critically; confirm with a written quote |
| Blank total | You left the price field empty on purpose | Use area and quantity to shop rates first, then re-run with a real price |
| A total far below every bid | Your rate likely omits prep, removal, or install labor | Confirm what the rate includes; add the missing scope to your mental budget |
The estimate is a planning instrument. Treated as a budget and a bid-checking baseline it is invaluable; treated as a fixed price it will mislead, because the numbers it cannot see are the ones an installer is paid to price.
Common Estimating Mistakes, Consequences, and Prevention
Nearly every under- or over-order traces to a handful of input errors, each with a predictable result and a simple fix. Naming them is how you get a clean number the first time instead of a second delivery run.
| Mistake | What it causes | The prevention |
|---|---|---|
| Measuring one wall of an L-shape | Area understated by the missing wing; the floor runs out | Split into rectangles, measure and add each area |
| Rounding measurements down | Coverage shortfall that surfaces on the final row | Round every dimension up to the next inch |
| Too little waste on a pattern | Not enough usable board for diagonal or herringbone cuts | Use 12–15% for patterns and small, cut-heavy rooms |
| Zero waste to “save money” | No offcut coverage, no attic stock, and a mid-job re-order | Never order below 7%; keep spares for future repairs |
| Entering an installed rate as material-only | Total inflated or deflated versus what the quote covers | Match the rate's scope to the total you want (material vs. material + install) |
| Ordering exact square feet, not whole boxes | A partial box short of finishing the last row | Round the order-with-waste figure up to full cartons at purchase |
| Mixing dye lots on a re-order | Visible color mismatch across the floor | Order the full quantity, plus spares, in one dye lot the first time |
Every row is a re-order, a color mismatch, or a budget surprise waiting to happen — and each is prevented by one honest input, which is the whole reason to run the numbers before you buy.
The Estimate Accuracy Framework
An estimate is only as good as the six inputs and assumptions behind it. Run every calculation through the Estimate Accuracy Framework below — six checks that separate a number you can budget against from one that will drift. Miss one and the output looks precise while being wrong.
- 1. Correct measurement method
- Length times width for each rectangle, measured at floor level, with L-shapes and open plans decomposed and summed. The area is the base of every downstream figure, so a measurement error propagates through order quantity and total alike.
- 2. Waste matched to the layout
- The waste percentage reflects the real install — 7–10% for straight-lay, 12–15% for diagonal, herringbone, and small cut-heavy rooms. Waste chosen for the pattern is the difference between one delivery and two.
- 3. Price scope declared
- The rate you enter is explicitly material-only or material-plus-install, and the total is read against that scope. A blended rate compared to a material budget is the most common reason an estimate and a bid seem to disagree.
- 4. Whole-box rounding at purchase
- Flooring sells by the carton, so the order-with-waste figure is rounded up to full boxes when you buy. The calculator gives square feet; the supplier sells boxes, and the gap between them is covered up, never down.
- 5. Excluded scope acknowledged
- Prep, removal, transitions, stairs, and moisture mitigation sit outside the per-square-foot math and are added mentally to any budget. The estimate sizes the field; it does not price the job.
- 6. Confirmed against a written quote
- The planning number is validated by a free, itemized quote from a vetted installer before any commitment. The estimate reads a bid critically; the quote is the number you actually pay.
How to Measure a Room for Flooring
Accurate area is the whole game, and it starts with a tape measure used deliberately. These six habits produce the reliable square footage the calculator turns into an order — do them once, correctly, and the rest of the estimate follows.
- Measure at floor level, not counter height
- Run the tape along the base of the wall where the floor actually meets it. Measuring higher, at a cabinet or counter line, can miss or add inches the floor does not follow, skewing the area from the start.
- Break the space into rectangles
- For anything other than a plain box, divide the footprint into rectangles along natural lines, measure each length and width, and record them separately. Summing clean rectangles beats guessing one irregular number every time.
- Measure both ends of a run
- Rooms are rarely perfectly square. Measure the width at both ends of a long run and use the larger figure, so the estimate is generous where the walls are not parallel rather than short.
- Add closets, bays, and doorways the floor enters
- Reach-in closets, bay windows, and the swing area inside a doorway all take flooring. Measure and add each, because the floor runs there even though the main rectangle does not.
- Subtract only fixed, floor-to-ceiling footprints
- Deduct the base of a permanent island or a built-in the floor does not run under; do not deduct furniture or appliances that sit on top of the finished floor, which the flooring still covers.
- Record in feet and inches, then round up
- Write each dimension in feet and inches, convert to decimal feet, and round each up before entering it. The upward rounding is a deliberate, small safety margin baked in before the waste factor is even applied.
Measure this way and the area you feed the calculator is trustworthy — which means the order quantity and the estimated total are too.
How Much Waste Should You Add? A Decision Tree
The waste percentage is the one judgment call the calculator asks you to make, and it is not a guess — it follows from the material, the pattern, and the room. Walk the branches in order and a defensible number falls out.
- Is the layout straight or patterned? A straight-lay floor in a simple rectangle starts at 10%. A diagonal, herringbone, or chevron layout starts higher, at 12–15%, because every board is cut at an angle and the offcuts are harder to reuse.
- Is the room large and plain, or small and cut-heavy? A big, open, straight-lay room with few obstructions can drop toward 7–8%. A small room, or one broken up by closets, jogs, and doorways, pushes toward the top of its range because the cut waste is proportionally larger.
- What material are you installing? Long, wide hardwood planks and large-format tile generate more unusable offcut than small, forgiving pieces, so lean higher. Luxury vinyl plank and laminate in a straight lay are the most efficient.
- Will you want attic stock for future repairs? If matching the dye lot later matters — and it almost always does — add a little extra so a few boards go to the closet as spares. A repaired plank from the original lot is invisible; one from a new lot is not.
- Still unsure of the range? Default to 10%, run the estimate, and confirm the final quantity with the installer who will cut the floor — they price the pattern and the room every week and will refine the number for your exact job.
Run honestly, the tree returns a single waste figure suited to your floor — not a one-size number that over-orders a plain room and under-orders a patterned one.
Flooring Estimate Glossary
These terms recur across the calculator, the supplier's box, and the installer's quote. Each is defined as its working meaning on a real order, so you can read a bid and your own math with the same vocabulary.
- Area (square feet)
- Length times width, the bare floor footprint before waste. The base figure every order quantity and total is built from.
- Waste factor
- The percentage added to area to cover offcuts, trim cuts, defective boards, and attic stock. Typically 7–10% straight-lay and 12–15% for patterns.
- Order quantity
- Area multiplied by one plus the waste factor — the true amount to buy, rounded up to whole boxes at purchase.
- Price per square foot
- The rate you enter, from your own quote or listing. Material-only or material-plus-install depending on what the quote covers; the calculator never supplies it.
- Coverage per box
- The square feet a single carton covers, printed on the label. Used to convert an order quantity in square feet into full boxes at the register.
- Dye lot
- A production batch with a consistent color and texture. Ordering the full quantity plus spares in one lot avoids a visible mismatch on a later repair or re-order.
- Attic stock
- Spare material set aside from the original order for future repairs, kept so a replaced plank matches the floor exactly.
- Straight-lay
- Boards run parallel to a wall in the simplest layout, generating the least offcut and warranting the lowest waste factor.
- Herringbone / chevron
- Angled patterns that cut every board and produce more unusable offcut, warranting a higher waste factor of 12–15%.
- Installed rate
- A price per square foot that bundles material and installation labor, as opposed to a material-only rate. The scope of the rate must match the total you intend.
- Field flooring
- The main floor area, as distinct from transitions, trim, and stairs, which are priced separately from the per-square-foot field rate.
- Moisture mitigation
- A system or underlayment installed when a slab reads too wet, added to the maker's spec — a real cost outside the calculator's math, triggered by a moisture test.
Beyond the Estimate: From Number to Finished Floor
The calculator ends where the project begins. A sound order quantity is the first correct decision of a flooring job, but several more decide whether the floor lasts — and each has a home elsewhere on the site.
Pick the Material for the Room, Then Price It
The best floor is matched to the room's traffic and moisture before its price matters. A bathroom wants a waterproof, slip-safe surface; a basement needs an assembly built for ground moisture; a pet-friendly floor wants scratch resistance. Choose the surface first with the surface selector or the how-to-choose-flooring guide, then enter that material's rate here. To compare two materials spec-for-spec, the material comparison tool lines them up.
Size the Related Tools for Your Material
Once the material is chosen, a more specific tool sharpens the order. Installing tile? The tile calculator turns area and tile size into a piece count. Buying hardwood by the carton? The hardwood calculator converts area into boxes to order. Pricing a counter alongside the floor? The countertop cost calculator works the same honest way.
Confirm the Whole Job in Writing
The estimate sizes the field; the written quote prices the prep, removal, transitions, and stairs the calculator cannot see. A vetted installer measures the substrate, names the method, and lines out each cost separately — which is the document a flooring budget is truly decided on.
Get a spec-matched recommendation
Tell us your surface, room, and goals — free, independent guidance and a vetted installer, nationwide.
A Real Estimate-to-Order Decision
One representative scenario shows how the calculator does its honest job and where the written quote takes over — the inputs drove the order, and the on-site quote drove the total.
Why Estimate With Pro Work Home Surface
Pro Work Home Surface is not a contractor and does not sell flooring — we are a national authority on home surfaces that gives homeowners honest planning tools and matches them with vetted local installers held to a published bar.
- Tools that use your numbers, never invented ones
- Every calculator here runs on the measurements and prices you supply. We would rather show you area and order quantity and ask for your rate than hand you a fabricated national average that reads authoritative and is fiction.
- A free consultation and an itemized written quote
- The estimate sizes the field; the connection that follows starts with a no-obligation consult and a written quote that lines out prep, removal, transitions, and material separately — the whole job, not a headline rate.
- A real vetting standard before we connect you
- Installers are screened on what decides a floor's life — whether they test moisture and flatness, install to the manufacturer's instructions, and choose the method for the substrate rather than for convenience.
- National coverage, local crews
- We match you with installers in your area nationwide, so the standard is consistent even though the crew is local — whether your project is a single room or a whole home.
This is one of several free tools we publish across home surfaces. Size a project here, then compare what moves the price in our cost guides, dig into the how-and-why in our flooring guides, check documented service life in the material lifespan data, and start from the flooring category hub, the full tools library, or the range of home surfaces.